It’s prime midsummer days in Germany! With 33 degrees Celsius outside temperature my little home office under the roof is getting way too hot. That’s a good occasion to chill and document some progress.
I’ve been working on a crowd simulation. It essentially consists of these parts:
- An editor utility to determine possible spawn locations for NPCs in the scene.
- A crowd character prefab which holds all the basics which are the same for every NPC, e.g. a trigger area to detect when the player is close or a state machine runner for the behavior.
- A simple configuration structure which contains NPC details like a model prefab, a chance of appearance, an initial behavior,…
- A pooling system which is responsible for filling a pool of pre-instantiated NPCs based on the configuration above, using a given maximum number of entries per configuration.
- A spawner with a list of spawn areas which are placed around the character. The spawner and its spawner areas are attached to the player controller and move with it, and the spawner attempts to randomly spawn (aka “check out”) new NPCs from the pool at one of the predetermined points from 1 inside of one of the spawner areas, provided the pool has available (aka “checked in”) NPCs.
- A despawner which returns NPCs to the pool when they’re leaving the despawner area.
- Various behaviors as configured in 3, e.g. randomly wandering through the scene.
Here’s an early preview. After publishing this, I toned the NPC’s footstep sounds down: they’re now running at 1/4 of the player footstep volume, minus distance attentuation.
I’d like to share some more details on how I determined the possible spawn points and how this turned out to be useful for light probe placement, too.
Spawn Point Placement
I use NavMeshAgents to steer the NPCs through the scene. That guarantees that they’ll stay on walkable areas, gives me obstacle avoidance out of the box, and allows me to work with it through Unity’s UnityEngine.AI.NavMesh utility class.
To determine spawn points, I started with a grid. The grid covers the area the player can access and the grid points are located a little above the maximum height the player can reach in this lower part of the Aegis.
From each of these points, I shoot a ray downwards, order the hit points by y descending, and examine them:
- First, I make sure that the hit point is reasonably close to the navmesh by using
NavMesh.SamplePositionand a given threshold. If it’s not, I discard it. If it is, I continue using this point for the next parts. - Navmesh areas sometimes are at locations where I don’t want NPCs to go, like rooftops, and I was too lazy to define exclusions for all of these areas. So as a next step, I try to calculate a path from this hit point to a preconfigured starting point. If no path is found or the found path is incomplete, I discard the point.
- Then, I check if the point plus a configured test height is inside of a collider using
Physics.OverlapSpherewith a small test radius. The test height helps me to avoid false positives. If the point is inside a collider, I discard it. (As I’m writing this, I notice that this is likely a much faster check than calculating the path and I should move this one step up – but as this is an editor utility, it doesn’t really matter.) - Finally, I check the distance of the newly found point to the last valid point on this ray. If the distance is less than a configured threshold, I discard it, too. This is because sometimes I have overlapping geometry, like rocks, and hit points are detected on both layers while only the upper layer is relevant, otherwise NPCs would spawn below ground between two rocks.
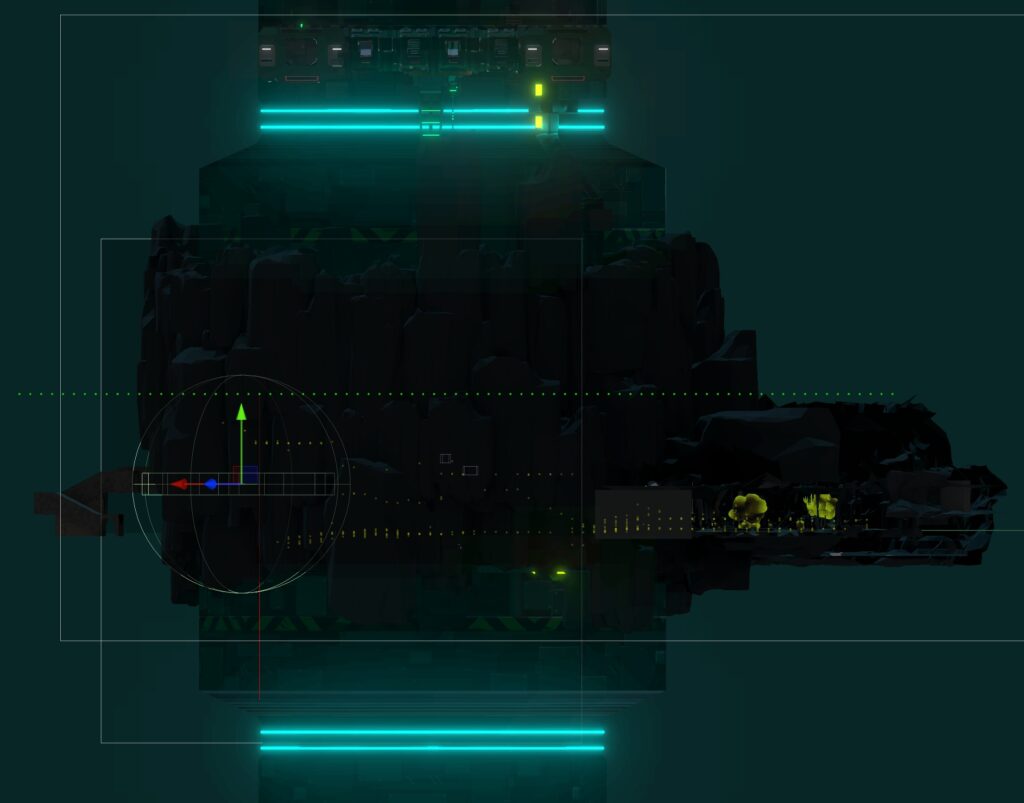
Here’s how the result looks like:
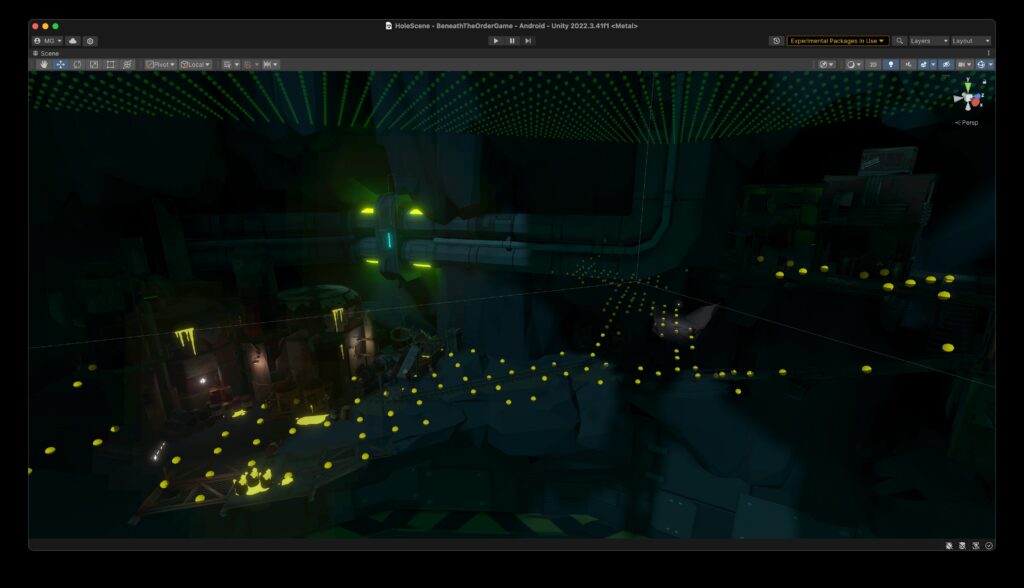
The calculated spawn points are then fed into the spawner component for use at runtime.
Light Probe Placement
I’m using lightmaps for the scene’s static geometry, but dynamic objects like NPCs require light probes to calculate the correct lighting depending on their position in the scene.
And now you can imagine where this leads to…
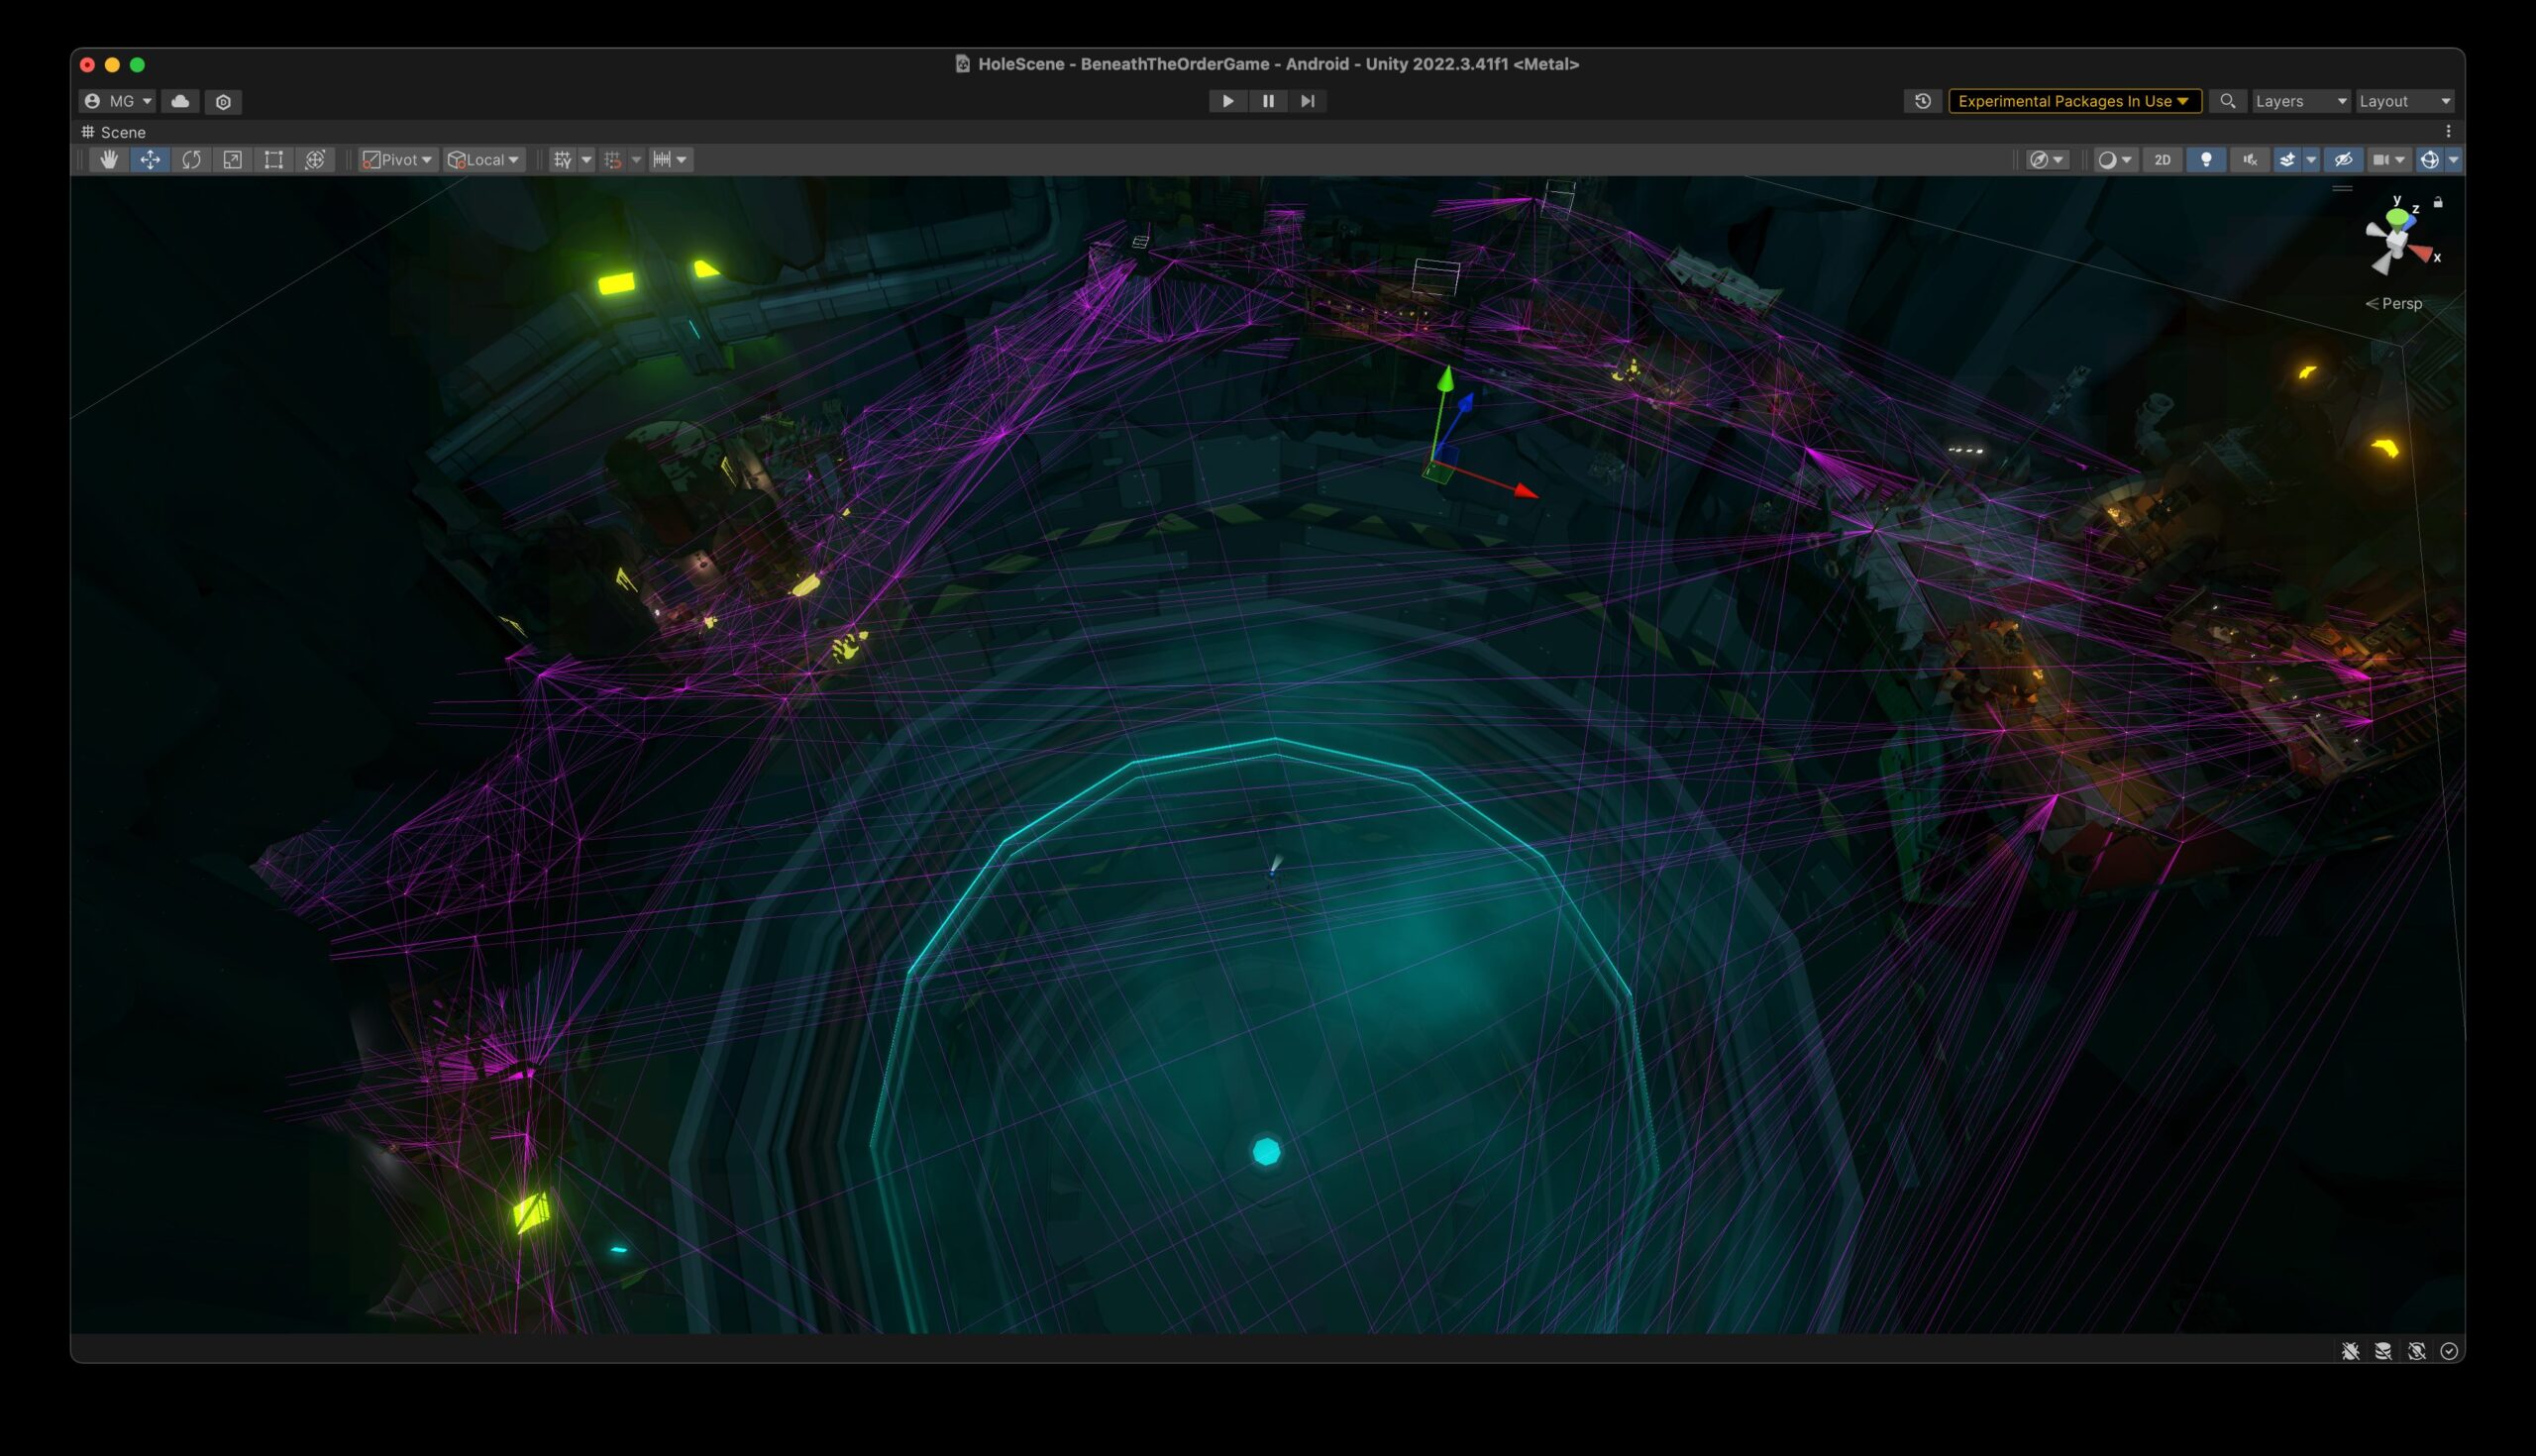
As the NPCs are spawned at the calculated spawn points, and all spawn points are known to be on valid navmesh areas, I decided to use the same points to generate light probes. Of course I moved the y coordinate up to avoid them being created on the ground.
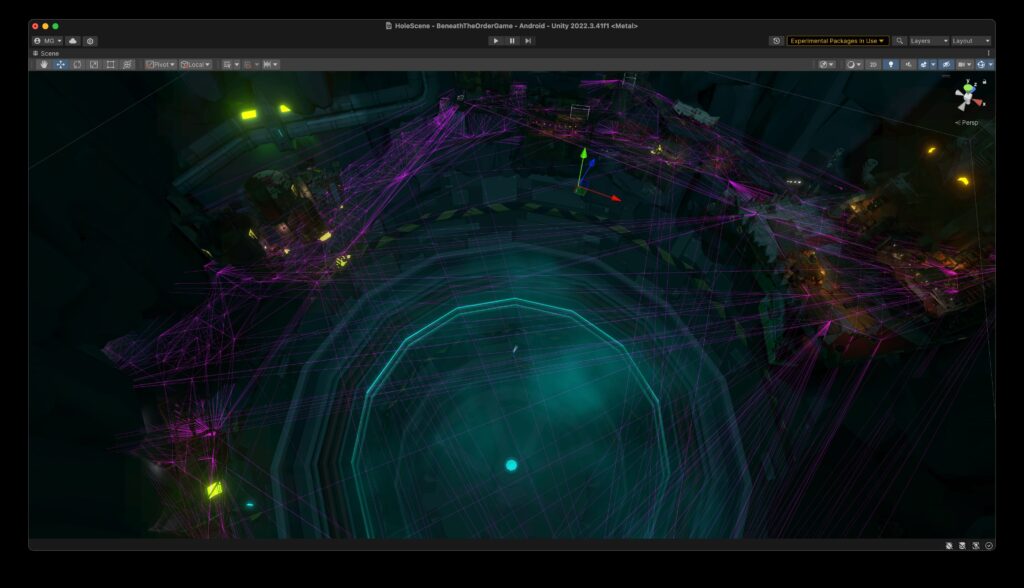
Here’s a video showing the effect on characters wandering through the scene. In particular, watch the dark space between the center light and the big green Vitae blob:
Currently I have not made any other tweaks to the light probes. Since there are locations without any spawn points (e.g. narrow bridges where no detection ray was casted), I might either decrease the spawn point detection grid size, add more light probes instead of just one per point, or still add some manually created probe volumes. But for now, I’m quite happy with the outcome and the reusability of the spawn points.
Another detail I’m going to look into is how characters move on uneven ground. Currently the movement is a little erratic. As a big fan of Fimpossible tools, I’m going to see if their Legs Animator will help improve matters.
Leave a Reply