I can’t believe how fast time passes right now. I had this post pending as a draft for a long time, and always meant to record a nice gameplay video of the barricading feature mentioned below. It’s now early July, I still haven’t taken the video, and I’m finally pushing the publish button just to get it out eventually. I may add the video later.
Moving to PC
I’ve been a MacBook Pro user as my primary work device for many years. I switched when I built an iPhone game, ELFrun, in 2008, and never looked back.
But VR development on a Mac for devices outside of the Apple ecosystem is kind of a digital masochism. My M1 MAX with 64 GB RAM works really well and I couldn’t complain about Unity or build speed either, but not being able to use Quest Link to quickly test a change or to easily debug was a huge disadvantage and a time-eater, regardless of the performance.
I started to do Unreal Engine development, too. UE is a bit of a heavier beast and the Mac version isn’t really on par with the Windows version. Moreover, some plugins like GPU Lightmass or the Oculus VR plugin don’t work on Mac.
So I made a couple of adjustments and I’m now using a PC as my main work horse again. Here are the specs of my current rig:
- Mainboard: MSI X670E Gaming Plus WIFI
- CPU: AMD Ryzen 7 9700X
- RAM: 64 GB DDR5@6000 MHz (G.Skill Trident Z5 RGB)
- GFX: RTX 4080 SUPER 16 GB (ZOTAC GAMING Trinity Black)
- SSD: Samsung 990 EVO 2TB + EVO Plus 4TB
Obviously, I also spent a couple of days just going through the latest games that I missed, and I went back to my all-time favorite game, Dishonored, and played it at fully maxed out quality for the first time; it can’t hold up with the latest games but it remains an amazing and inspirational game to play.
Barricading
With the goal to build one quest arc from start to finish, I started working on specific parts of the quest. One is barricading a tunnel where Rots breached through. The player needs to grab wooden planks, attach them at indicated positions, find and place nails at either end of the plank, and then hammer them shut – using an actual hammer or any other appropriate tool.
Luckily this isn’t too hard thanks to what all the big VR frameworks offer out of the box (just with different names):
- The wooden planks are grabbable objects with rigidbodies. I also added a dedicated impact sound configuration.
- The preview positions at the tunnel entry are snapzones (aka sockets) which only accept these specific wooden planks. No other object can be snapped here.
- Once a wooden plank is snapped in place, the snapzone with preview is replaced with a regular plank object.
- Instead, nail position previews and snapzones on the plank are enabled. They follow the same principle: they only accept nails to be placed into the snapzone.
- Once a nail is placed, the snapzone is replaced with an actual nail object with a “Damagable” component.
- And once such a nail receives damage, it’s driven into the wood based on the amount of damage.
Sidekick characters
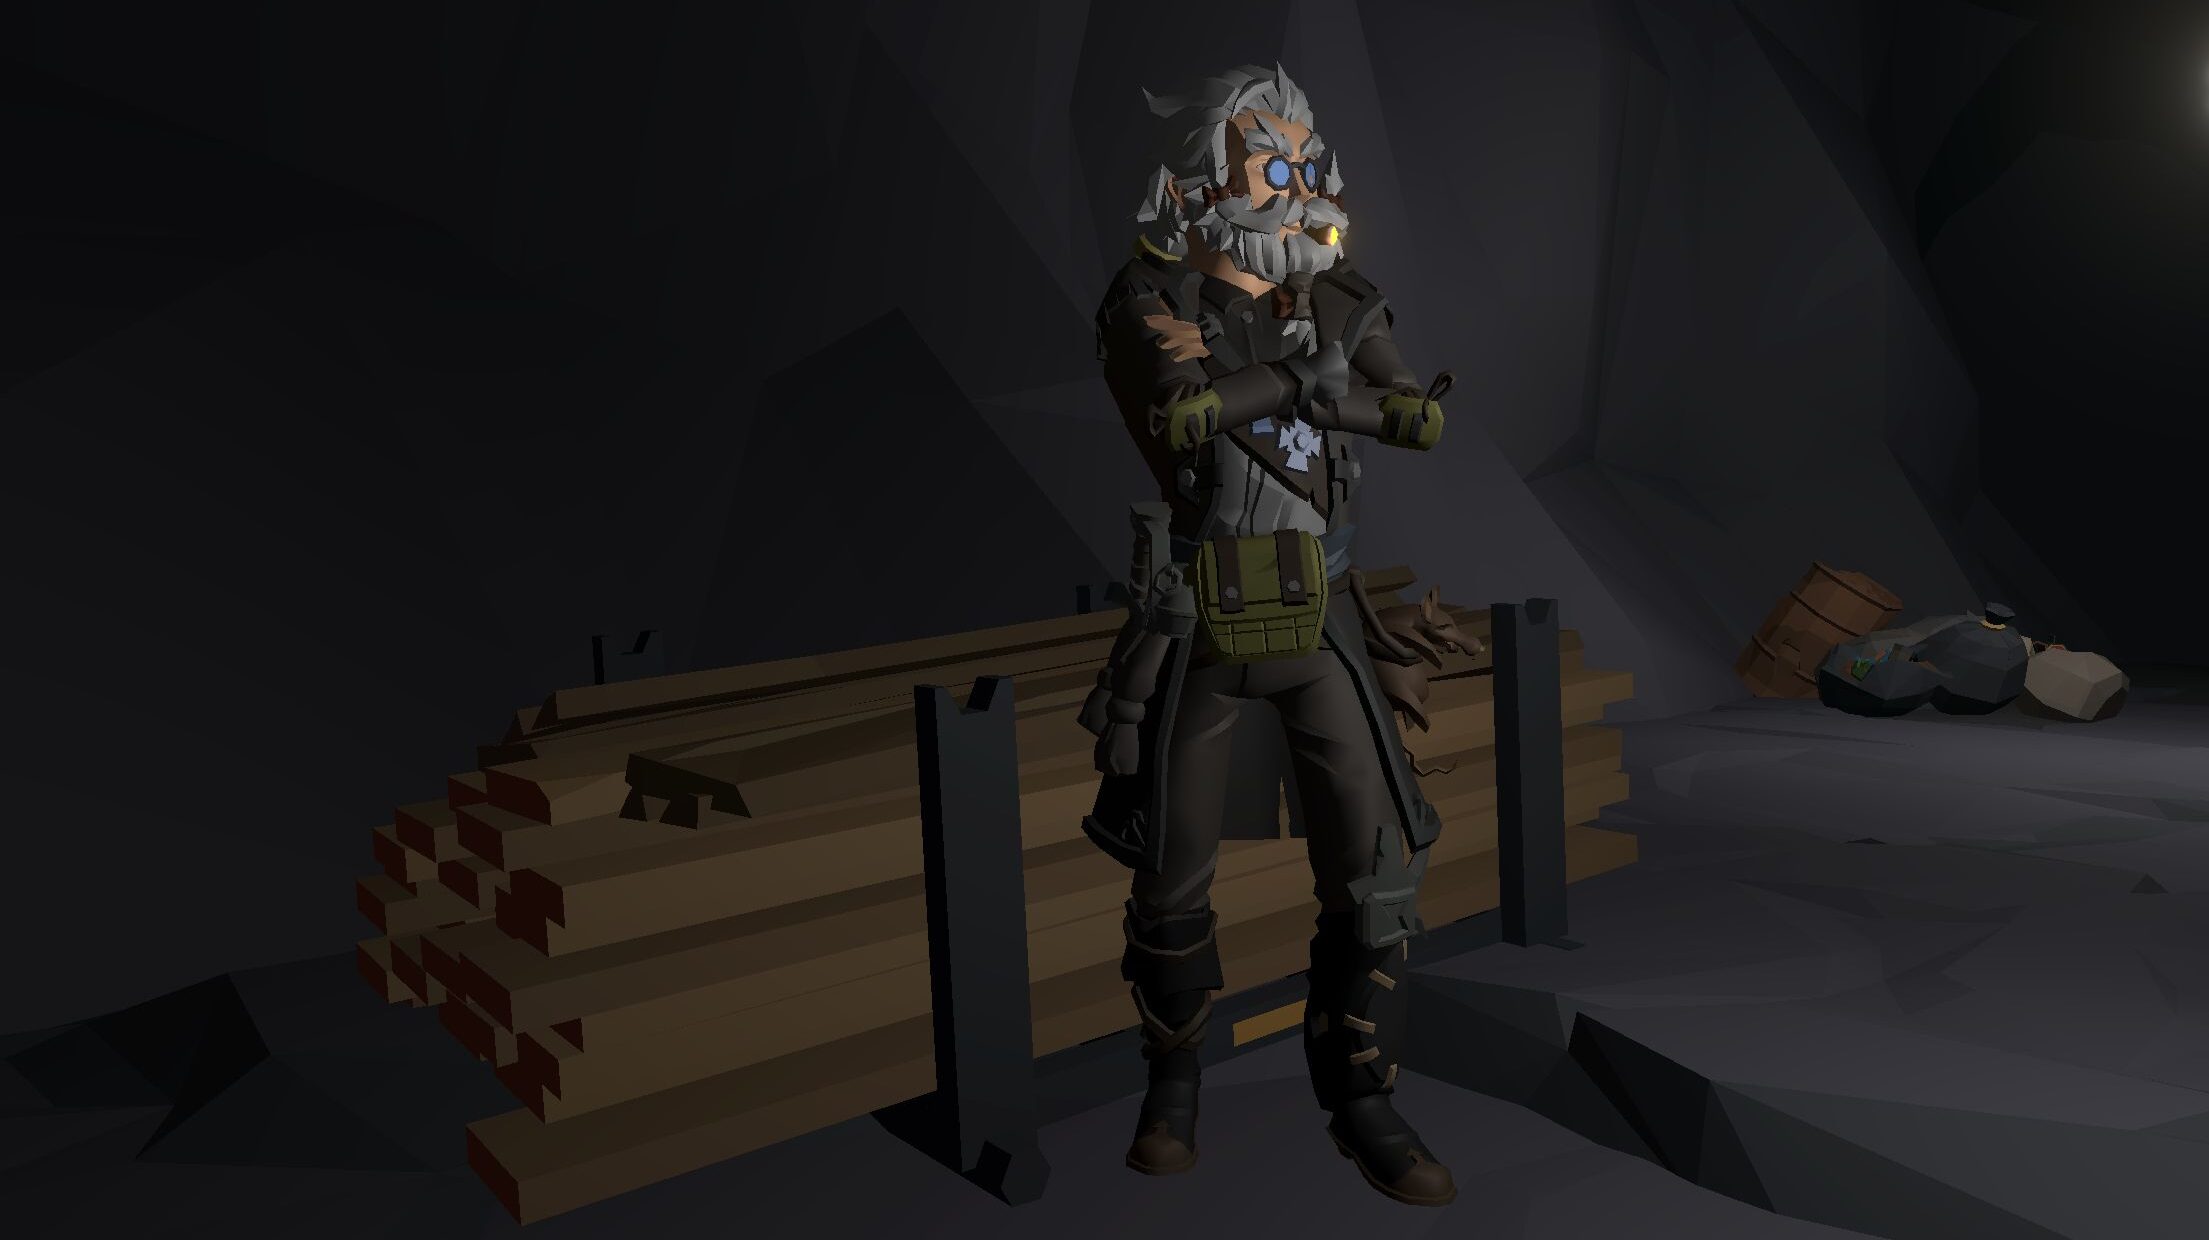
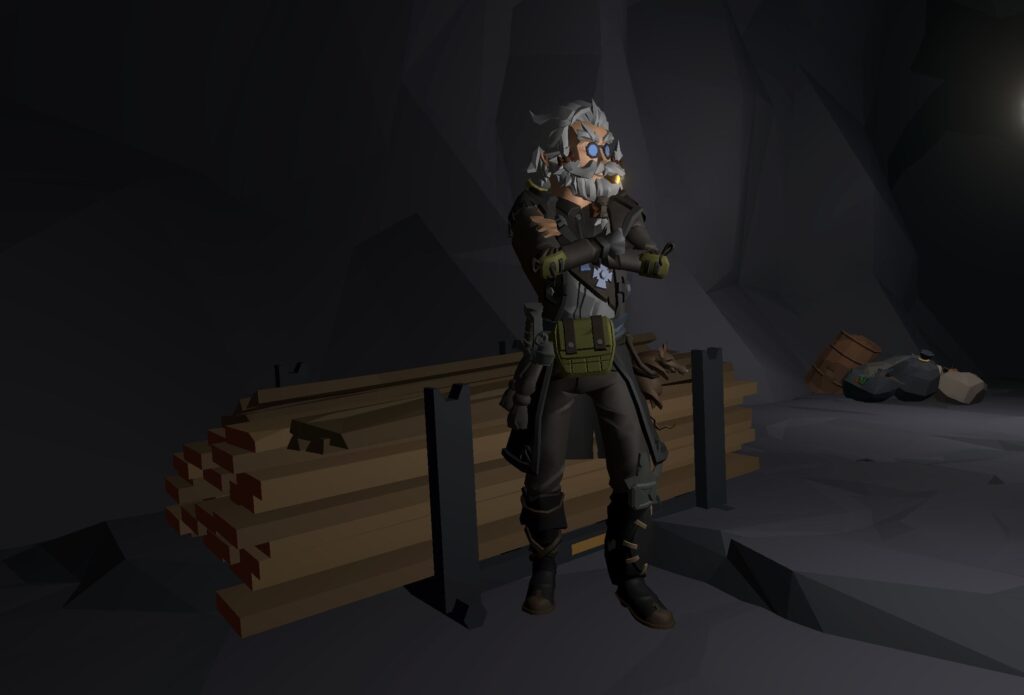
On the way to pick up wooden planks, the player meets Osmund, one of the key NPCs in the game. I decided to use Synty Sidekicks for such character models, to have a bit more creative freedom when designing them and to make them stand out from the regular “POLYGON” series styled characters.
Here’s how Osmund is currently looking like:
The initial Sidekick library came with four styles, Apocalypse, Sci-fi, Goblins and Pirates. For Osmund, I mainly used parts from Apocalypse and Pirates. There was a Vikings set dropped this month and I hope they’ll release more contemporary and apocalyptic content which suits (no pun intended) Beneath The Order.
Homepage updates
No news if you’re following the blog, but I finally sat down and wrote the updates for Q4 2024 and January 2025.
I also updated the history page.
Intro continued
I continued fleshing out the intro. I particularly worked on the last part, where the actual implantation takes place.
Pictures speak louder than words, so if you’re curious, feel free to watch this rough cut of the full procession. It’s still too long, a bit jerky, and contains spoilers, but it gives a clear sense of where it’s going.
Even when I cut it down a little and speed up certain areas, I’m certain it would be too long for many players. I’m also aware that it’s really hard to experience in VR since it massively hits people prone to motion sickness. I’m considering this the “directors cut” and I’ll offer options to skip parts during the experience.
A lot of the procession is steered through Timeline, but there’s something else I use to control the game flow I’d like to highlight.
Steering the flow with quests
Quests are relatively simple entities. They have a name and a list of sub-quests – at least one. Such sub-quests are activated through triggers, e.g. the player starting the game or speaking to a certain NPC, and then deactivated through certain triggers again.
One important attribute of a quest is whether it’s “user-visible” or not, because quite often quests solely exist to change the game world without the player knowing about them. And in order to make changes to the world, I simply listen to quest activation and deactivation and activate and deactivate corresponding game objects in the world.
This hierarchy screenshot should make things more clear:
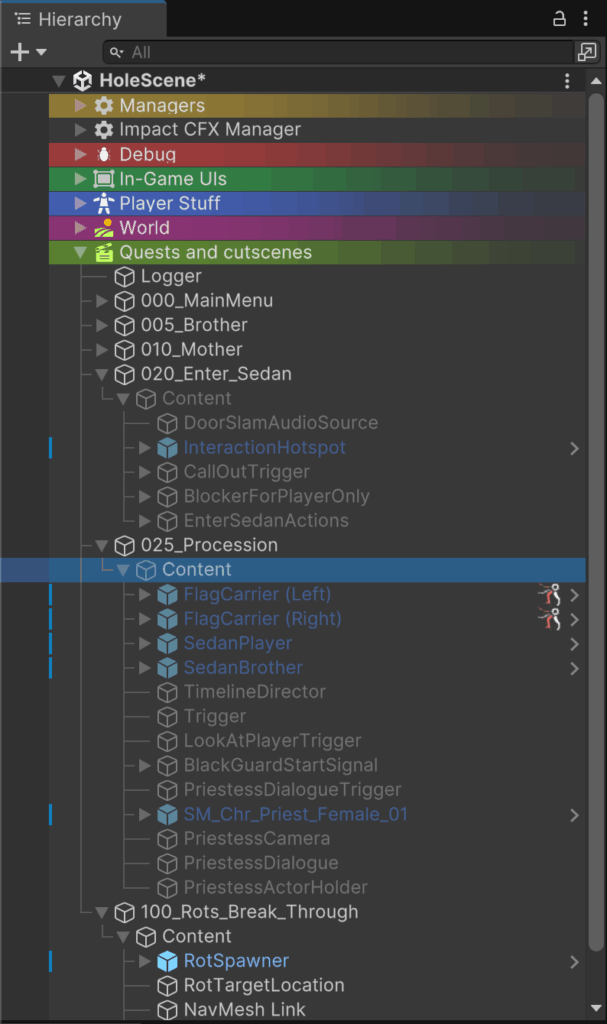
On game object “020_Enter_Sedan” (I’m using numeric prefixes because the corresponding quest also exists as an asset and I like to have them sorted) sit two trigger components, one listening for activation/start and one for deactivation/completion of the quest. On start, the “Content” child object gets activated, and introduces new activate game objects into the world. Some children may be new NPCs (more on that later), some may be other triggers, including “on enable” triggers which run right away. On completion, the “Content” game object gets deactivated again.
That way, I can better control the game flow and also reduce some complexity in the scene when it’s not needed.
Steering NPCs with quests
This whole process led me to another change I already hinted at.
Initially, I thought I would have to create all my NPCs once, and then steer them through the level or teleport them wherever I needed them. But this didn’t really turn out to be beneficial: I didn’t need a fully blown character with navigation, AI, and ragdoll capabilities everywhere. Sometimes a version with an animator and a single animation clip was sufficient; and I’m sure I’ll come across a situation where I don’t need any animation at all and use a static pose instead.
So I moved instances of my NPC models from the “world” into the “quest” subtrees in my scene and configured them as needed. Here, they exist as long as the quest is active.
This won’t work well if two quests are active at the same time AND need the same NPC in different places, but so far I don’t see that coming.
Résumé
There will be a couple of distractions coming up, like a game jam I’d like to join and re-learning a lot of Unreal Engine. But development progresses slowly but steadily!
Leave a Reply